Thursday 20 April 2017

Home decor and Lighting

It is amazing how much time we spend making our abodes attractive to the eye, but when the lights go down, a lot of the effect is lost.
Lighting is generally the answer, but, as night falls we want to be able to relax and kick back in tranquil surroundings. I have always liked mood lighting.
Here is my latest work in progress on that theme.
Home decor table lamp
Warm glow lighting

Monday 10 April 2017

Advanced papermache

It is surprising what ideas can come from processes that you already know.
Our Faux Bark technique which we originally developed for our Fairy Houses has been an excellent method for creating our own unique style of clocks.

We have now opened our own Etsy shop My Soulful Things

Friday 11 March 2016

Fairy Bench in 1/12th scale

Working with the random and irregular shapes of driftwood and natural forms tends to dictate the outcome no matter what the initial vision is.

I sat down at my workbench intent on creating a Fairy Miniature Three Seater Sofa. I had already created a chair and a little side table in 1/12th scale, and the natural choice was always going to be something that could join these previous creations.

I raked through my growing collection of small driftwood pieces, this always takes far longer than it should do because I find myself admiring the sheer beauty of each piece as I examine it for suitability for the project at hand.

Driftwood Miniature Fairy Bench
The top rail that I used for the back of the bench has an interesting shape and it has a slight curve as well as being the correct length.
This would form the basis for the design, as I had already, by then, decided on letting the design grow organically.

I created the back of the bench and initially it looked like the start of a headboard for a bed. The top and bottom rails are connected using wooden barbecue skewers.
I went for this option because I needed to create some structural regularity at this point so that the rest of the bench would maintain a uniform functionality.
I have this notion that a piece should always look capable of performing the task for which it was designed - For when the Fairies come calling.

I drilled corresponding holes in the top and bottom rails to accept the wooden skewers, and these were glued into place with PVA.
I then carefully selected the two uprights that form the side structures and the back legs and glued it all together. I tend to use a superglue to create the initial bond and hold it all together. I then push a 2 part adhesive into the joints to help build strength.

Thursday 3 March 2016

Fairy Chair in 1/12 scale

Without a doubt, making miniature furniture certainly presents some challenges. As I have mentioned before - scale is paramount, when dealing with items that are readily identifiable in the full-scale world, the proportions have to be as close as we can get them in miniature.
We are all so used to subconsciously absorbing information about everyday things, that when we see something that jars, we may not know why, but somehow, our brain is telling us that something is not as it should be - and the paradox is: In miniature, that whole feeling is magnified.
1/12th scale Fairy Chair

Here is a chair that I have made out of: Willow, Ash and Driftwood.

The overall height is about 4.5 inches as I wanted it to have a tall back to accommodate the piece of driftwood that is forming part of the back support.
The other dimensions can be pretty much worked out by comparing to the height of the chair.


Miniature Fairy Chair


Even the size of some of the natural detail needs to be taken into account, especially when combining materials that are from the same source but are part of a different part of the tree or whatever your source might be.

There is no hard and fast rule for calculating the scale of natural detail; you can only look at the item and if your brain is telling you that there is something not quite right - then that is generally the case, and you need to work through some of the options i.e. trial and error.

Friday 5 February 2016

Fairy-Folk Furniture Table

Fairy Table Top
My wife said to me: 'What about making a few rooms, you know, the place where Fairies like to relax and chill'.
So that got me thinking, and the first aspect that came to mind was scale, and what Fairy furniture would look like. I'd seen some other hand-crafted furniture and as nice as some of it was, one of the big problems was scale; or rather using natural products like twigs and wood and still maintaining that element of scale.
It wasn't so much about length and width; that's easy to achieve. It is more about thickness.
For example at 1:12 scale a 1/4 inch represents 3 inches and sometimes, although it is perfectly fine in real life to have a 3inch thick chair leg or 3 inch thick table-top. In miniature world, a perfectly scaled piece of furniture can still look a little chunky, so that is what I will try and tackle and let you see the results.

The above picture is my first attempt at creating a table-top. It is made from a slice of natural Agate and the simulated wood surround has been cut from a Texture-Sheet that I produce from Paper-Clay. The thickness is about 1/6th of an inch which would be about 2 inches in the real world.
The Texture-Sheet gives a broader spectrum for the design and creativity. It is also very easy to work with as it is tough, maintains a degree of flexibility, and accepts colour well.

Miniature Table
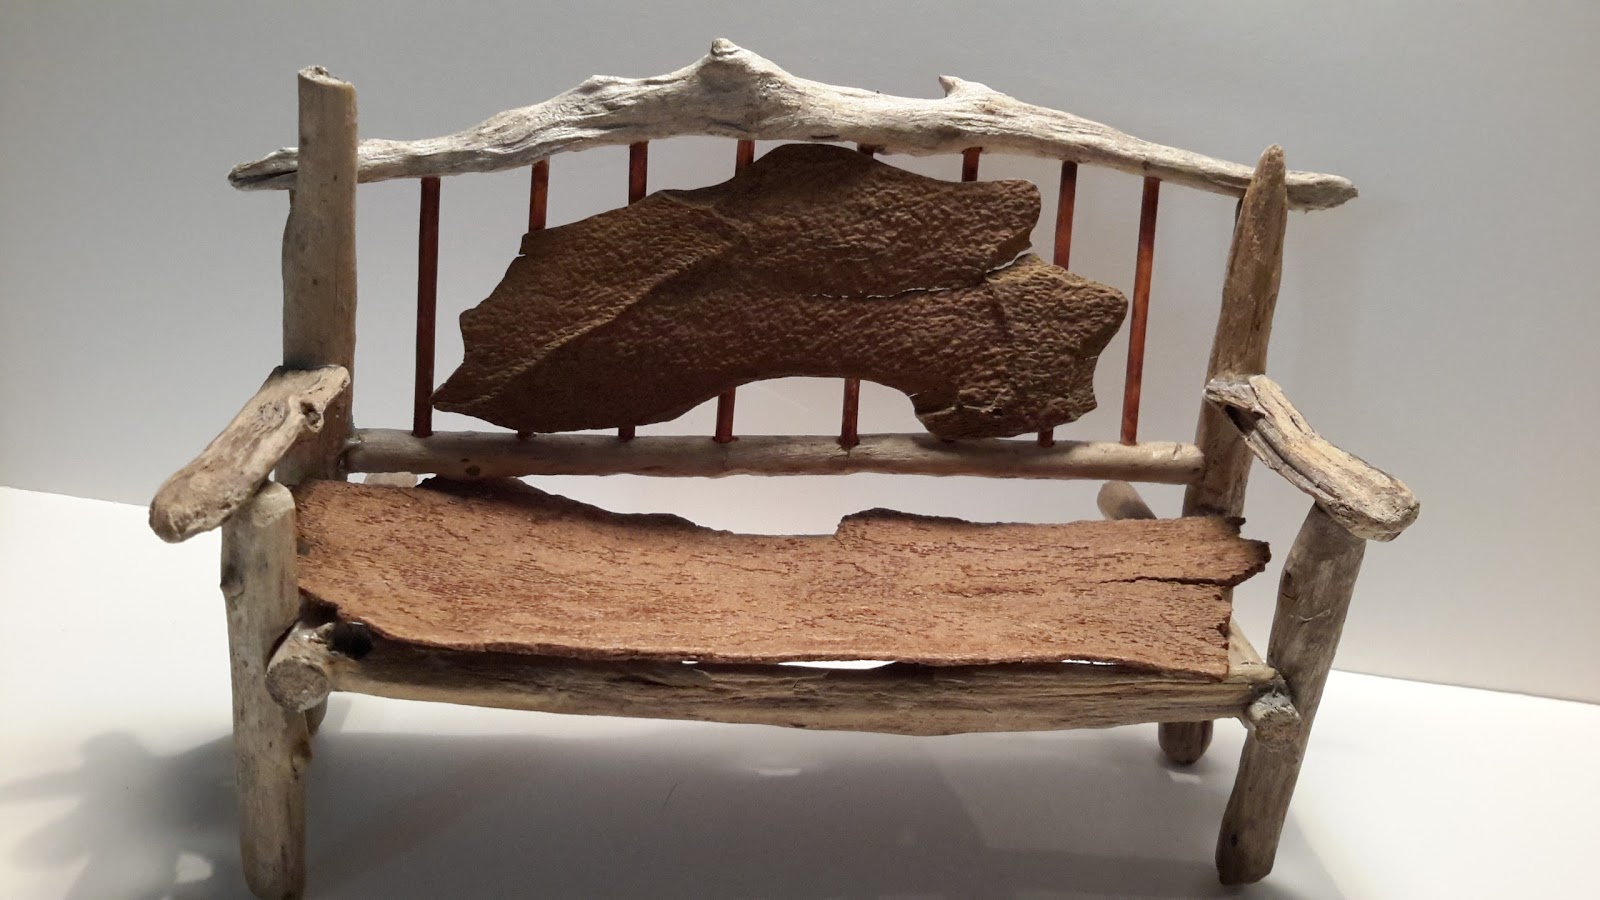
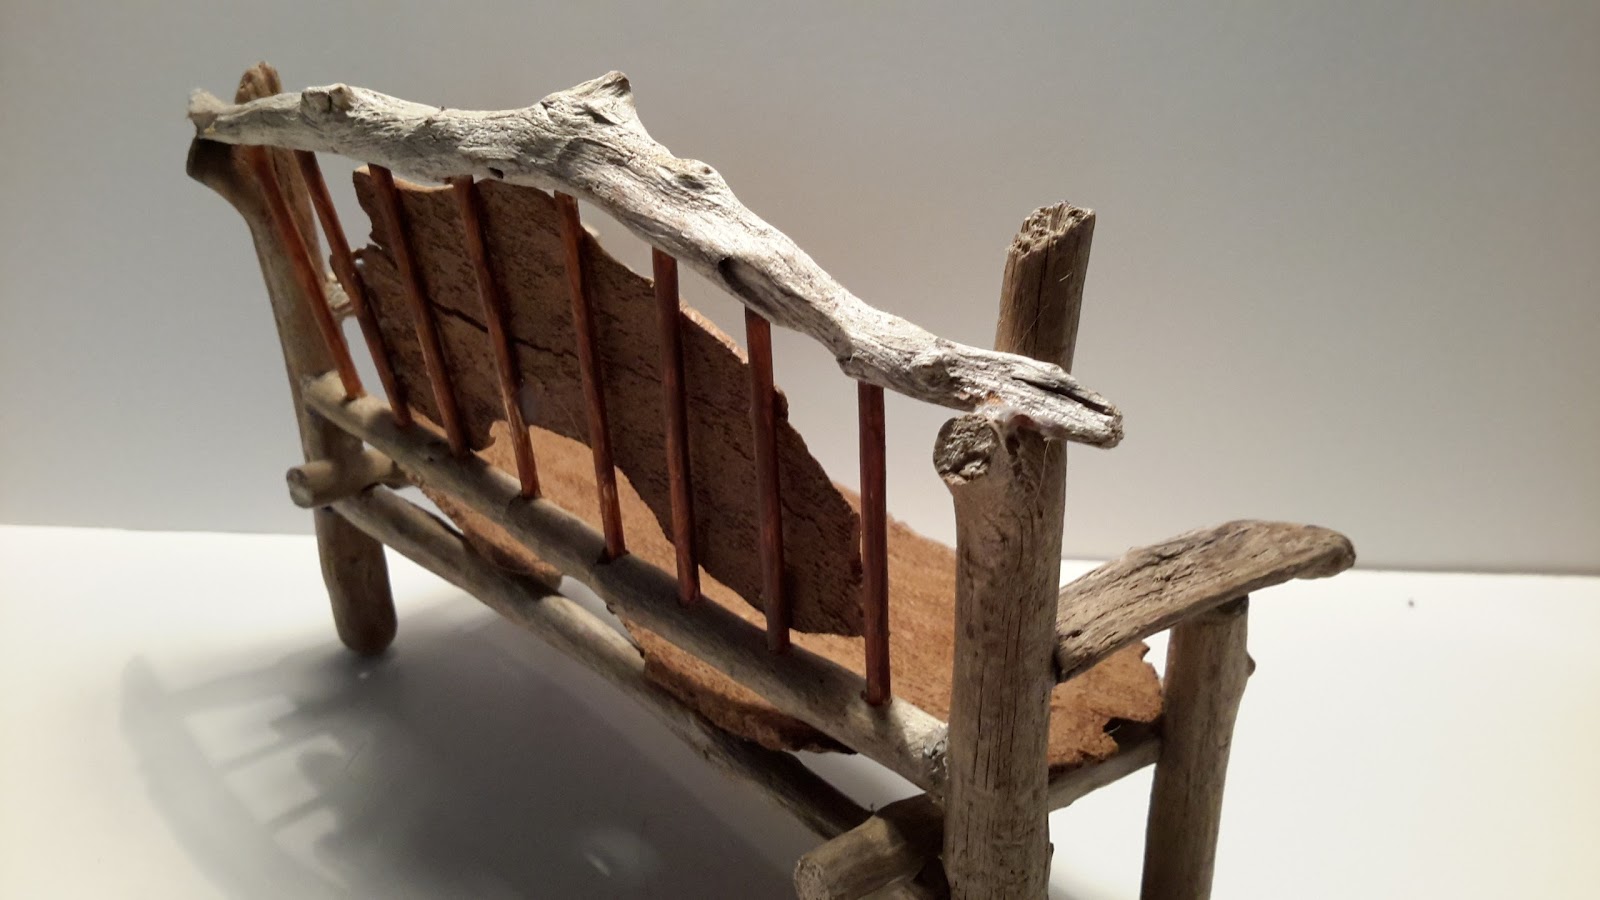
 Here is the result of combining the table top with some well-chosen pieces of driftwood.


I have created this with 1/12th scale in mind, but it could adapt to other scales depending on the size of table you might be looking for.


When it comes to legs, it quickly became apparent that an eye for pairing similar, but not the same, items was important.
Miniature Driftwood Fairy Table

Agate-slice table Top

Thursday 4 February 2016

A few completed Houses

Here are a few of what I like to call 'Stumpies'. They are a smaller version of my original design.

Soulful Things Stumpie with Pink Door
Each one of these is the culmination of about 7 hours work, if you don't include 'drying' times, of which there are about 8 periods, and each period is about 24 hours depending on the time of year.

I generally like to be working on 2 or more pieces at any one time and I try to keep them at slightly different levels of completion so that during drying times I have still got a viable project to keep working on.

I do get bored easily and I hate it when a process becomes repetitive. There are some times when I just have to put up with this and get on with it.

These were made to order with the customers specifying what colour door they would like.
Each one is uniquely different, which is the beauty with handmade items. The processes that I use are designed to encourage randomness, and although with these three the processes were the same, each is as different as fingerprints.
Fairy house in Paper-Mache


Tuesday 2 February 2016

New Project.

This is a seat of the pants job. I am using it to try out some developing techniques.
Most of my Fairy Houses are woodland themed, and the bark texture was a combination of developing the correct constancy and stickiness of Paper-Clay and then experimenting with the best techniques for creating the texture.
Soulful Things New Project

The experimental aspect of this one is all about how to create the roots. A simple enough task, you would think, until you start considering all of the options against what you want to achieve:
Size; Shape; Function; Detail etc.

For this project I needed a couple of substantial roots on each side to help to create a sort of courtyard or enclosed space.

As you can see I went for the rolled-up newspaper, masking-tape and PVA (white glue) option for the former or armature.
I needed bulk rather than intricate form and it had the added bonus of being fairly quick to create.                                  


The addition of a little paper-clay gives an idea how things should progress.
I want to also create a network of smaller roots that spread out over the base and wind themselves in and around. To do this I will use aluminium foil to create the armatures as this will allow me to be a little more precise with their size and shape and where they run to.

I will be adding vines to these roots and the trunk of the tree, my thoughts at the moment are that I will use string and jointing compound to create the forms and then when that has dried I will 'chase' them with paper-clay creating little nooks and crannies as I go.

I will publish pictures of my results on this blog alongside a narrative of my findings.                                  

                                         
A few days of drying have now past, and the paper-clayed roots are firm, and dry enough for me to progress with the next stage. 

As I have said: this is a seat of the pants development - all the time looking to improve techniques and to incorporate design elements that have only been in the 'Ideas' stage.

My wife, Anne, and I, own our own shop, and some of what we sell are natural crystals. I had the idea of incorporating some of these in our Fairy Houses with the notion that they could be part of the illumination.

I did a first colour wash over the dried roots and then cut holes in the trunk to insert the two Amethyst points. These are quite long and the bits that you can't see are positioned on the other side so as to enable a couple of small LED lamps to be secured next to them.

I then moulded them in to place at the front with paper-clay, and continued with the clay on to the base and around the roots to create levels and texture.


Here are a couple of pictures that I took with the amethyst points illuminated.

The lights have only been temporarily rigged for the purpose of taking the photos and so do not create the best impression, but I think it gives the general idea.

When this piece is finished - the windows will be illuminated as well.